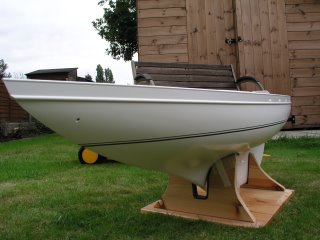
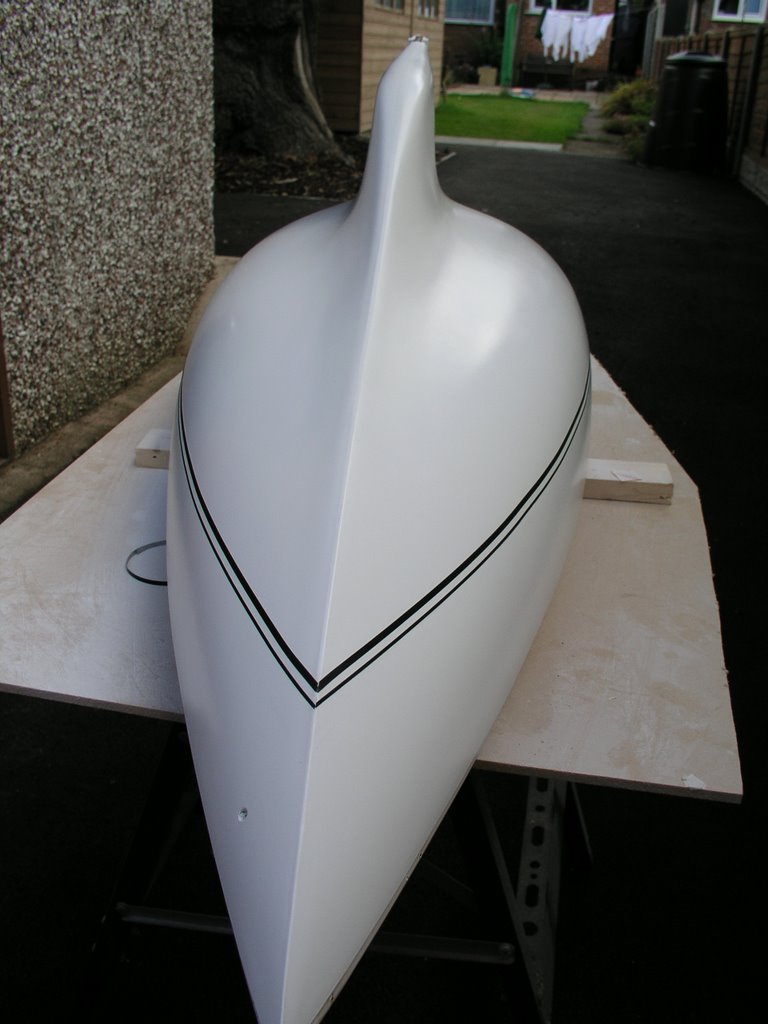
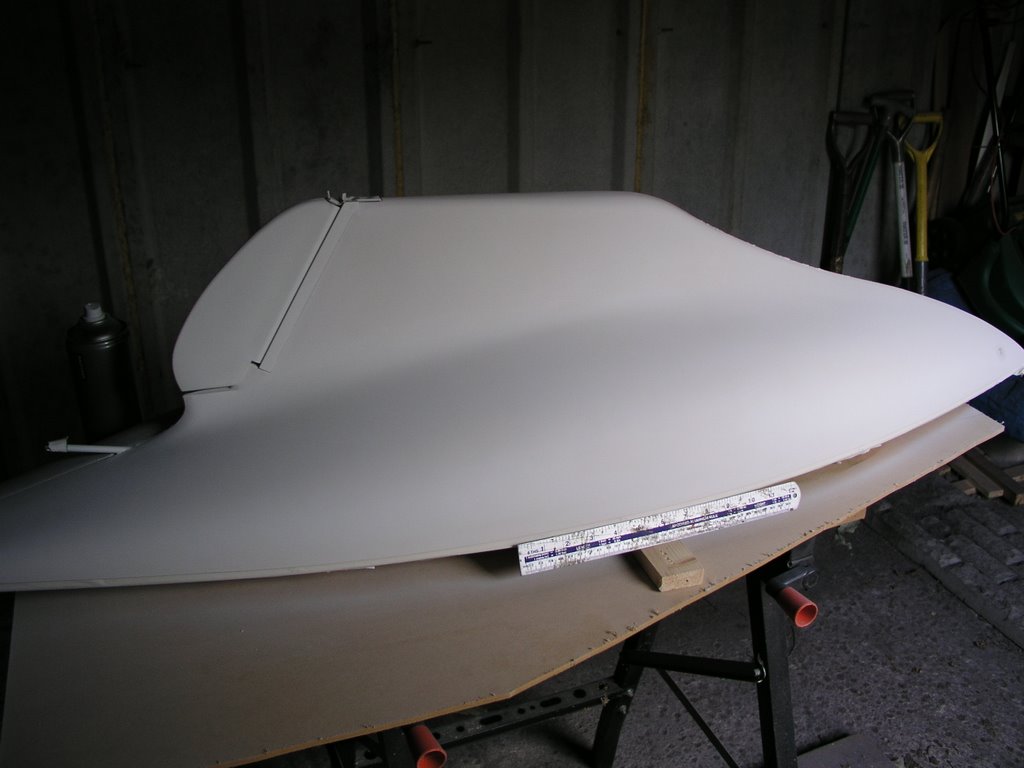
Thursday, August 31, 2006

Painting All Done


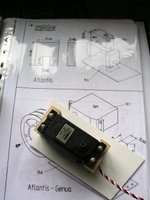
This Robbe Atlantis, IS a real Monster !

Prepping, masking,painting,flatting, repainting etc etc has taken best part of a week to complete... there's no rushing this beast :)

I have used 2 complete rolls of masking tape, 1 x500ml aerosol of primer, 2 x 400mls tins of Plastikote Super Satin Enamel.

Certainly the BIGGEST hull, I have ever painted..

Anyway, she's now being left to cure /harden for a few days, before I handle her again.

I am now researching /looking for a name for her.... I cannot simply call her "Atlantis " :)
Now that I have " the knowledge" I shall make my own decals for her.. making her truly unique.
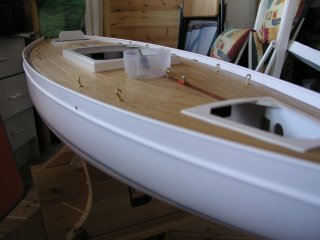
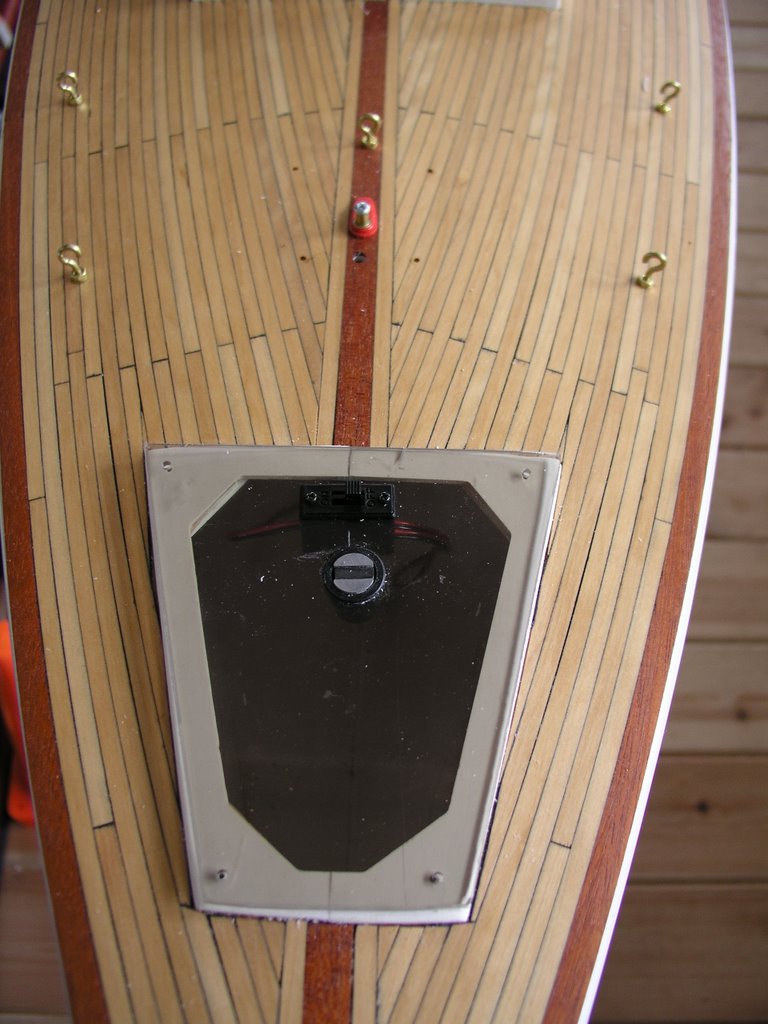
Here's how she looked after the bulwarks were completed and sprayed up.

As I thought, the contrast of satin white and Keith Jewells fine timbers on deck, look fabulous..

I am well happy.

Steve


Tuesday, August 29, 2006

Bulwarks !

And yes, I have swore a little tonight :)

Why ? do I have a heck of a gap between the bulwark strip and the hull top edge ?
If I tighten up the screws too much.. the bulwark profile is distorted and loses its vertical orientation.. which looks.. well crap !

So. I loosened off the screws a tad.. and spot glued as per the instructions.. then ran medium cyano ( super glue) into the gaps.

To avoid excess running under the strip and onto the hull, I used masking tape to make a seal..

Seems to have worked..

I can see nothing I have done with this strip is wrong.. the lower part is tightly butted to the hull... but the top has a good gap in some parts, particularly midships area. Tighten screws so that it all butts up.. and the top edge slopes inwards.. looking awful.

I can only conclude that the hull moulding may be a little worn and the top mounting edge has developed a curve , rather than a sharp edge.

Not to worry.. I shall fill the gap with some glue. and finish off with some sealant.. allowing any water to track along the bulwarks and exit thro the scuppers..just as the full size !


Left it to cure overnight..

Tomorrow screws to be removed, and the remaining holes filled.. and prep for final spraying..

Monday, August 28, 2006

Hull Painting


The last UK bank holiday this weekend ( before Chrsitmas !! ) allowed me to get some progress on the Atlantis hull.

For top coat, I chose an all white colour scheme, with the water line marked with a nice twin stripe.

I feel the white will contrast very nicely with my "Keith Jewell" fine timbers :)

Here's a few photos, the final one shows the bulwark strip temporarily fitted using screws.. eventually this strip will be glued , the screws removed, holes filled and sanded.

Finally the top coat, again in white will follow.

Saturday, August 26, 2006

Displacement


Not quite the nautical term meaning :)

But my garage is now the temporary paint shop.. displacing my car to the front drive.


The hulls wooden deck was today masked off.. and she was transported to the garage for paint prep.

Flatted back to matt with 320g wet n dry, then washed, dried and wiped with a tack cloth.

1st coat of primer applied, showed up some moulding lines and surface imperfections.
Allowed to fully dry.. these were then filled, again allowed to dry.. before sanding back, wipe down, another tack cloth ( good they are).. 2nd primer coat sprayed..

She has been left overnight to harden... and will likely need another primer coat, before the top coats are sprayed.

I intend to use Satin white for her top coats, just a personal preference over high gloss finish...

When I got back to my shed, I found I had a visitor, this lovely butterfly, had lost its way.. I safely netted it. and sent it on its way..

A nice end to the day.


Friday, August 25, 2006

Out of Stock

OOPS :(

I had hoped to start masking her hull off today ready for painting preparation, but found I had ony 3 foot of tape left !

Ah well... carry on with section 15 then: The SailWinch

I opted for the recommended Robbe SW1 inch # 8336. Mightily expensive though, ( I hope its worth it!) I am aware , many others have used the cheaper Hi Tec sail winch ( this would save you around £40GBP !! )


With the Atlantis instructions, there is a supplimentary sheet, showing dimensions for cutting the supplied servo mount wooden block to size.

I found the dimples /drill markings on the abs base plate to be incorrect( presumably as the specified winch type /model has changed thro the Atlantis life-time).


I recommend that you drill these holes to suit your specific servo width.
DO remember to drill pilot holes, for both the self tapping screws and the top servo screws.

I also assembled the three pulley blocks.. I dabbed a little superglue on the nut once in position.. alternatively you could use screw lock.. you certainly don't want your nuts to fall off !


Steve

Thursday, August 24, 2006

We're off


Made a start, section 13.
finished shaping the hatches..... 4 in total, fore, midships, stern and an additional motor hatch too.

Drilled all the screw holes, 1.5mm, then opened up to 2.2 as instructed.. ( note just the hatches are 2.2... ) the screws will self tap into the smaller pilot holes.

Also the forward hatch magnet fitted, along with the main radio gear on /off switch.

"Make a mental note," will need to buy an extension lead to allow the switch harness to reach the rest of the electronics gear.

The forward hatch magnet, by the way, is simply the Robbe retaining method of the forward superstucture.. which has a very shallow lip ..


Tomorrow's another day.

Tuesday, August 22, 2006

Building to Re-Commence Shortly !


Well, have now got that out of my system :)

My "Italian Job" Vaporetto Venziano is now completed except for a little subtle weathering as she "enters service".

I am delighted how she has turned out, especially as she was my very 1st timber built POB ( plank on bulkhead model)

Here she is, on her maiden voyage..

For full details of the build see here http://www.modelshipworld.com/phpBB2/viewtopic.php?t=192

The Robbe Atlantis build is shortly to get under way again, with the imminent public late Summer holiday, here in the UK.

First task will be to mask off the deck timbers, prior to preparation and spraying of the hull.

More soon !

Steve